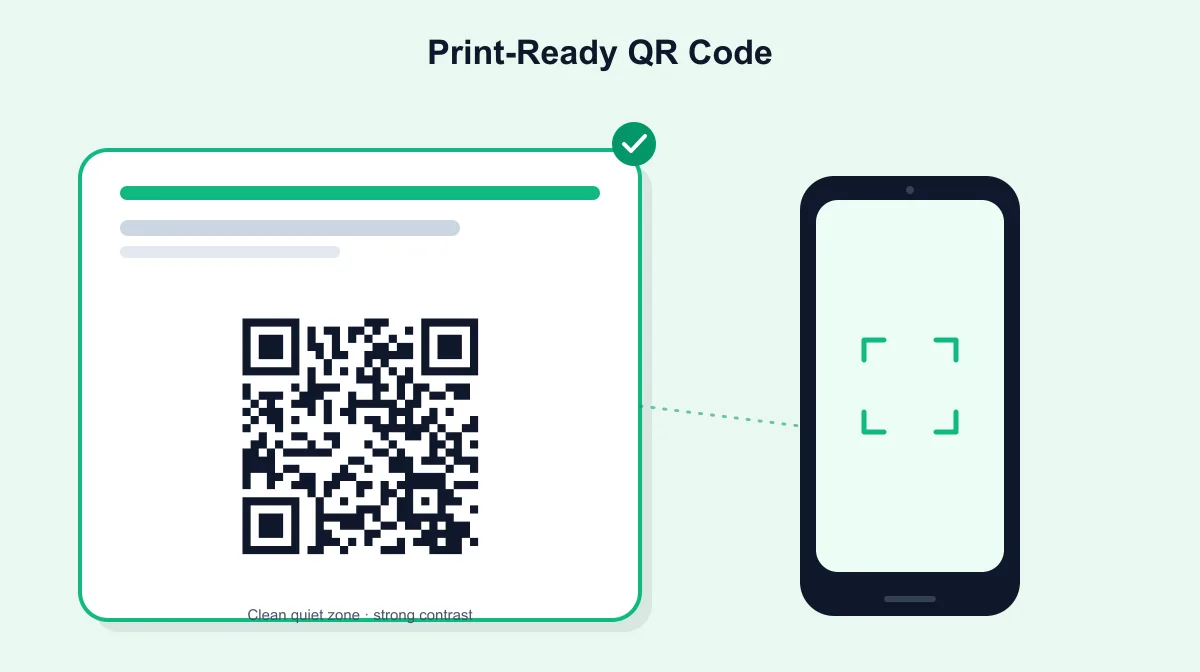
How to Print a QR Code: Size, Resolution & Scannability Guide
A QR code that opens perfectly from a phone screen can still fail once it's printed. The code hasn't changed — but printing introduces problems a screen never shows: the code might be too small for how far away it'll be scanned, the modules might lose their sharp edges, the quiet zone might get cropped by a layout, contrast might drop against a busy background, or the proportions might get stretched during resizing. None of that shows up on a laptop screen; it only shows up once the piece comes off the printer.
This guide covers how to prepare a QR code so it survives that transition — size, resolution, format, quiet zone, contrast, and testing — before it goes to a print run.
What Makes a Printed QR Code Scannable?
A QR code is a grid of small black-and-white squares called modules. A scanner locates the three large squares in the corners (the finder patterns), maps the grid between them, and reads each module as a 1 or a 0 based on whether it's dark or light. Print preparation comes down to protecting that grid:
- Clear, sharp modules — well-defined edges, not soft or blurred boundaries
- Sufficient contrast between the modules and the background
- An intact quiet zone — the blank margin that lets a scanner isolate the code
- Correct proportions — a perfect square, never stretched
- Enough physical size for the distance it'll actually be scanned from
- Enough source resolution to stay sharp at that physical size
- Sensible placement — not folded, curved, or crowded against an edge
How Big Should a QR Code Be When Printed?
There's no single physical size that works for every QR code. The right size depends on a few things together:
- How much data is encoded — a short URL produces larger modules; a long URL or full vCard forces a denser grid with smaller ones.
- Scanning distance — a code read from arm's length can be small; one read across a room needs to be much larger.
- Print quality — a high-quality commercial print renders fine detail more reliably than a low-cost desktop printer.
- Camera and lighting conditions — good lighting gives more margin for error than dim or glare-heavy conditions.
It helps to think in terms of scanning context rather than a fixed number:
| Use case | Typical scan distance | Sizing consideration |
|---|---|---|
| Business card | Very close, hand-held | Small is fine if the source is sharp and the quiet zone is intact |
| Restaurant menu | Close, seated at a table | Steady lighting matters more than extra size |
| Flyer | Hand-held to short range | Needs enough size for arm's-length scanning |
| Product packaging | Close-to-medium, often curved | Curvature affects readability more than size alone |
| Poster | Medium-to-long distance | Noticeably larger than hand-held pieces |
| Sign | Potentially long distance | Largest size in this group; test from the real viewing distance |
A commonly used starting point is a distance-to-size ratio of roughly 10:1 — the code should be at least about a tenth as wide as the distance it's typically scanned from. That's a widely repeated practical rule of thumb, not a figure defined in the QR code standard. Size up when the content is dense, print quality is uncertain, or the viewing distance is longer than ideal.
Is There a Minimum QR Code Size for Print?
There's a real difference between a QR code that's theoretically readable and one that's reliably readable. Theoretically, a code can be decoded at a very small size as long as a scanner can resolve the individual modules. In practice, print quality gets in the way first — ink spread, paper texture, and printer resolution all soften small modules before that theoretical limit is reached.
A commonly cited practical floor is around 2 x 2 cm, even for close-range use on a business card. This isn't a value defined by the QR code standard — it's a widely repeated rule of thumb based on how small modules hold up under normal print and camera conditions. Codes that encode more data need more modules to fit the same information, which pushes the safe minimum up, and codes meant to be scanned from farther away need to be larger still. When in doubt, size up — a code being slightly larger than necessary has essentially no downside, while one that's too small can fail outright.
For a deeper look at module counts, quiet-zone math, and a worked formula for calculating a code's exact physical footprint, see our guide on how small a QR code can be.
What Resolution Should a Printed QR Code Use?
Physical size and pixel dimensions aren't the same thing, and confusing the two causes most resolution problems.
- Raster images can degrade when enlarged. A file generated at a small pixel size and stretched up to a larger physical size loses sharpness at the module edges — exactly the boundary a scanner depends on.
- There's no single official DPI requirement for QR codes. DPI measures pixel density relative to physical size, not a QR-specific standard. A frequently used commercial-print benchmark is around 300 DPI at final size.
- Source quality matters more than the export setting. A file that was already compressed, blurred, or upscaled before you got it won't sharpen just because you export it "at 300 DPI" — the detail has to exist in the source.
- Vector formats sidestep the question entirely. A vector file scales to any physical size using shapes instead of a fixed pixel grid, so there's no enlargement penalty.
SVG vs PNG: Which Is Better for Printing a QR Code?
ProURLMonitor's QR Code Generator exports a QR code as PNG, SVG, or PDF, so this choice is genuinely available:
- SVG (vector) scales to any physical size without losing sharpness. It's the safer default when the final print size isn't known yet, or when the same code needs to appear at multiple sizes.
- PNG (raster) is widely supported and works well as long as the source has enough resolution for the size you're printing.
- PDF is common in print workflows since it's the format most print shops and layout tools expect.
One caveat: if you're adding a logo overlay, check which export includes it — the overlay is typically baked into raster exports (PNG/PDF) rather than the plain vector output, since it's composited on as a raster image. The underlying rule stays the same regardless of format: don't take a file sized for a screen and stretch it up for print — export it at, or above, the size you actually need.
Do Not Crop the QR Code Quiet Zone
The quiet zone is the blank margin surrounding a QR code's modules, and it isn't decorative. DENSO WAVE, the QR code's original developer, states that a QR code requires a margin at least four modules wide on all four sides — a requirement that's part of the ISO/IEC 18004 standard defining the QR code symbol. A scanner uses that clear space to isolate the finder patterns from whatever surrounds the code; without it, a scanner may not locate the code at all, regardless of how sharp the modules are.
Common ways the quiet zone gets damaged during design:
- Cropping the code tight to save space
- Placing text or a caption directly against the code's edge
- Letting a background image or color bleed into the margin
- Adding a decorative border that sits against the modules instead of outside the margin
Treat the quiet zone as part of the code's footprint, not empty space available for other design elements.
Use Strong Contrast Between the QR Code and Background
The safest, most tested arrangement is dark modules on a light, plain background — what most scanning software and cameras are optimized to detect quickly. That doesn't mean a code has to be black and white; what matters is reliable visual separation between the modules and whatever is behind them.
Contrast problems tend to come from a small set of choices: low-contrast color pairings (a mid-gray code on white), gradients across the modules or background, busy photographic backgrounds, transparent backgrounds placed over an unpredictable surface color, and reflective or glossy materials that create glare under certain lighting. A branded or colored code can work fine as long as it gets the same reliable separation a plain black-on-white code gets — test it under real lighting before a full print run. For a deeper look at which color, background, and inversion combinations actually hold up, see our guide on whether QR codes can be colored.
Resize QR Codes Without Stretching or Distorting Them
QR codes are square, and they need to stay that way:
- Preserve the 1:1 aspect ratio — resize proportionally, never by dragging a single edge.
- Avoid repeated raster resizing. Scaling a PNG up and down repeatedly compounds quality loss even when no single step looks dramatic.
- Avoid unnecessary lossy re-saves — every extra JPEG re-save softens edges further.
- Regenerate rather than repair, when possible. If you still have the original content, generating a fresh code at the exact size you need is usually more reliable than rescuing a distorted file.
If a printed code ends up looking soft or fails to scan after all this, that's a broader troubleshooting question — our guide on why a QR code looks blurry or will not scan covers how to diagnose the specific cause.
How Print Material and Placement Affect QR Scanning
A file can be perfect and a code can still struggle once it's physically printed:
- Glossy or reflective surfaces create glare that can hide part of the code from a camera.
- Curved surfaces, like cups or bottles, distort the code's geometry from most angles.
- Folds and seams across the code can break up the pattern or cast shadows.
- Textured surfaces scatter light unevenly and blur small modules.
- Transparent material can let whatever's behind the print show through, effectively adding a busy background.
- Damage — scuffs, tears, peeling — removes part of the pattern the scanner needs.
- Poor printer output, like low toner, can thin or blur modules from a perfectly good source file.
- Placement too close to an edge or cut line risks the quiet zone (or the code) being trimmed.
These aren't reasons to avoid a given material — they're reasons to test on the actual material before a full run.
What QR Error Correction Can — and Cannot — Fix
QR codes include built-in error correction at four levels — L, M, Q, and H. According to DENSO WAVE, each level restores roughly:
- L — about 7% of the code's data
- M — about 15%
- Q — about 25%
- H — about 30%
Higher error correction is genuinely useful — it's a large part of why adding a logo to a code typically pushes the encoding to level H. Raising the level also increases the code's density for the same content, since more of the symbol's capacity goes to redundancy rather than data — one more reason a heavily encoded, high-error-correction code needs more physical room, not less.
What error correction doesn't do is compensate for poor print preparation. It can recover a portion of a code that's partly obscured or damaged, but it can't reconstruct a code that's blurry across most of its surface, distorted out of square, too small to resolve, or missing its quiet zone — a scanner has to locate and read the grid before error correction ever comes into play.
Always Test Your QR Code Before Mass Printing
This step catches everything the sections above can't guarantee on paper alone:
- Test the original digital file first, to confirm it scans cleanly before anything else changes.
- Print an actual-size proof — the code at the exact physical size it'll appear in the final piece, not a shrunk preview.
- Scan it with more than one phone or camera where practical.
- Test from the intended scanning distance — close for a business card, farther back for a poster.
- Check it under realistic lighting, including any glare the final surface might pick up.
- Test on the actual final material, when possible.
For the scanning step, our QR Code Scanner can decode a code from either your camera or an uploaded photo, so you can test a printed proof by photographing it. If a proof doesn't scan cleanly, it's faster to regenerate a clean source file at the right size than to keep adjusting one that's already degraded.
A Realistic Print Workflow
Say a business wants to add a URL QR code to a printed flyer:
- Generate the code from the destination URL using a QR Code Generator, rather than reusing an old screenshot.
- Export a clean source file — SVG if the final size isn't locked in yet, or PNG at (or above) the exact size needed if it is.
- Place it without stretching, keeping the square aspect ratio intact.
- Leave the quiet zone untouched, keeping text and artwork outside that margin.
- Choose strong contrast for the flyer's color scheme.
- Print an actual-size proof of the flyer, not just a digital preview.
- Scan the proof the way a real reader would, with the QR Code Scanner or any phone camera.
- Only send the full batch to print once the proof scans reliably.
QR Code Print Checklist
- Destination URL or content double-checked before generating the code
- Clean, freshly generated source file — not recompressed or upscaled
- Square aspect ratio preserved
- Quiet zone intact on all four sides
- Strong, tested contrast between modules and background
- Physical size appropriate for the expected scanning distance
- No text, logo, or artwork obstructing the modules
- Final print material and placement considered
- Actual-size proof printed, not just previewed on screen
- Proof scanned successfully under realistic conditions
- Final destination tested once more after printing
Frequently Asked Questions
What is the minimum size for a printed QR code?
There's no single universal minimum in the QR code standard — readability depends on how much data is encoded and how far away the code will be scanned. As a practical rule of thumb, many printing guides avoid going below roughly 2 x 2 cm even for close-range scanning, and suggest sizing the code to at least about one-tenth of the expected scanning distance. Denser codes and longer distances need more room, not less.
What resolution should a QR code be for printing?
There's no single official DPI requirement for QR codes. What matters is that the source file has enough pixel detail for the physical size you're printing at, with sharp edges between modules. A common commercial-print target is around 300 DPI at final size — vector formats avoid the question entirely since they scale without pixelating.
Can I print a QR code on a business card?
Yes — this is one of the most common uses, and it works well because business cards are read at close range, which allows a smaller physical code. Keep the quiet zone intact, use strong contrast, and make sure the source file is sharp at that small size.
Can a QR code be too large?
Not for scanning — a larger code is generally easier to scan, not harder. The real limits are layout and design: an oversized code can crowd out other content. As long as the aspect ratio stays square and the file stays sharp, bigger is safer than smaller.
Does a QR code need to be black and white?
No. It just needs strong, reliable contrast between the modules and the background. Dark on light is the safest, most tested arrangement, but other color pairings can work if the contrast is strong and consistent. Gradients, busy photo backgrounds, and low-contrast colors are the real risk, not color itself.
Is PNG or SVG better for printing a QR code?
SVG scales to any physical size without losing sharpness, which makes it a safe default when the final print size isn't locked in yet. PNG works well too, as long as the source file has enough resolution for the size you're printing — what matters most is that the file was generated cleanly and sized correctly for its final use.
Try Our Free SEO Tools
Put what you learned into action with our free SEO analysis tools.